Are you a teacher, student, or presenter frequently? Including your voice in your slides can help others comprehend and remain attentive.
A clear voice can lead your audience and help make your message more comprehensible. It also helps if your audience is viewing the video without reading the entire word on the screen.
It’s simple to insert voice into your presentation using CapCut video editing software for computers. With it, you can record, position, and even modify voice without having a specific skillset.
Most tools are available to use for free, but premium tools could cost money. It is a useful way, nevertheless, to make presentations more understandable and more useful.
Why Voiceovers Matter in Presentations
Voiceovers make individuals grasp your message better. When you narrate in a video, it keeps the viewer more engaged than text. This is suitable for online lectures, corporate presentations, and school assignments.
Your tone, pace, and emotion in your voice can make the slides come alive. It makes it easier to comprehend the message.
The CapCut desktop video editor allows you to include your voice and sync it with every section of your video.
Alternatively, you can utilise the text to speech feature in case you do not wish to record. It is a swift means of introducing a clear voice into your slides.
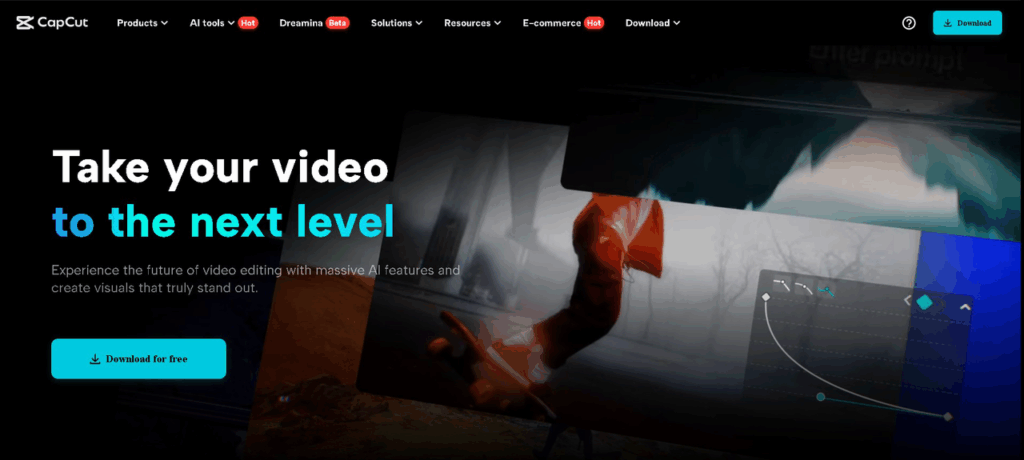
CapCut Desktop Video Editor for Voiceovers
CapCut desktop video editor is an intelligent option if you need to introduce voiceovers in your presentations. It features a minimalist design and is simple to navigate.
You can put your video clips onto a timeline and then record your voice to synchronise with each section. It allows you to shift and modify your voice clips with easy drag and drop.
You can even add background music, adjust the volume, and silence other sounds. The CapCut desktop video editor is free to download and utilise, though certain voice tools and exportation will require payment.
It also contains AI features that are useful when you need to add voice quickly without recording. New and experienced users will have an easy time using the tools, and they are suitable for most types of projects.
Step-by-Step Guide to Add Voiceovers in CapCut Desktop
Step 1: Download and Install CapCut Desktop Video Editor
Visit the official CapCut website. Hit “Download for PC” to download the installation file for the CapCut desktop video editor. Once it’s downloaded, open it and install it following the instructions on your screen.
When it is installed, launch the editor. You need to sign up or log in to access all the tools. Ensure you use the CapCut desktop version for PC and not the mobile version.
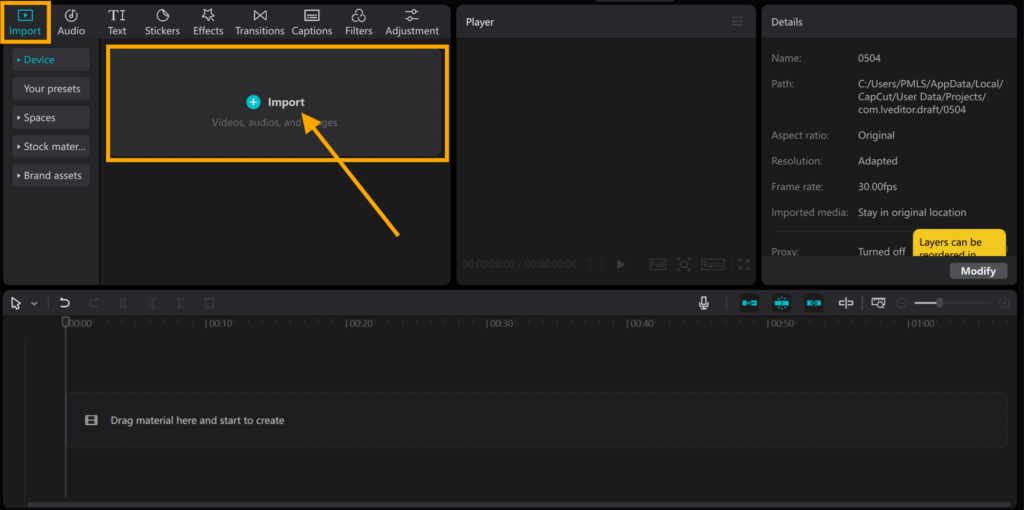
Step 2: Import Presentation Slides as Video or Image Files
Launch the CapCut desktop video editor, and press “Import” under the media section. Insert your PowerPoint slides exported as images or a video file. You can also experiment with the AI video generator to insert useful visuals before inserting your voice.
Drag them into the timeline to define the order of the slides. You can tap and drag the edge of each slide to change how long it remains on screen. To make your slides more interactive, go to “Transition” and insert effects.
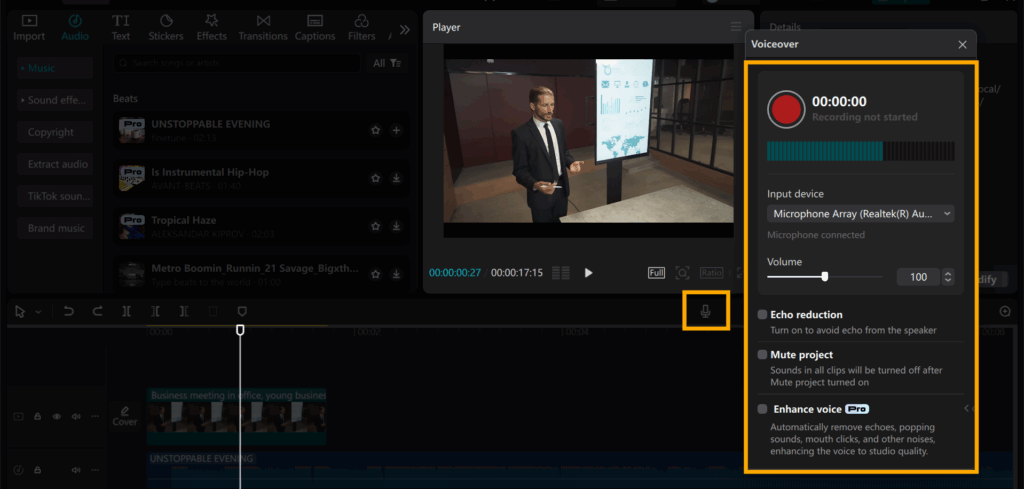
Step 3: Record or Upload Voiceover
Go to “Audio” on the top menu, then select “Voiceover” to record live. Press the red “Record” icon and begin speaking while the slides run. Your voice goes directly into the timeline.
If you have an audio file already, tap “Import” to upload. Drag the voice clip below the slides to line up each segment.
You can move or clip the voice for a better fit. If desired, use the voice changer to alter the voice. You can pitch the voice higher, lower, or even reverse gender.
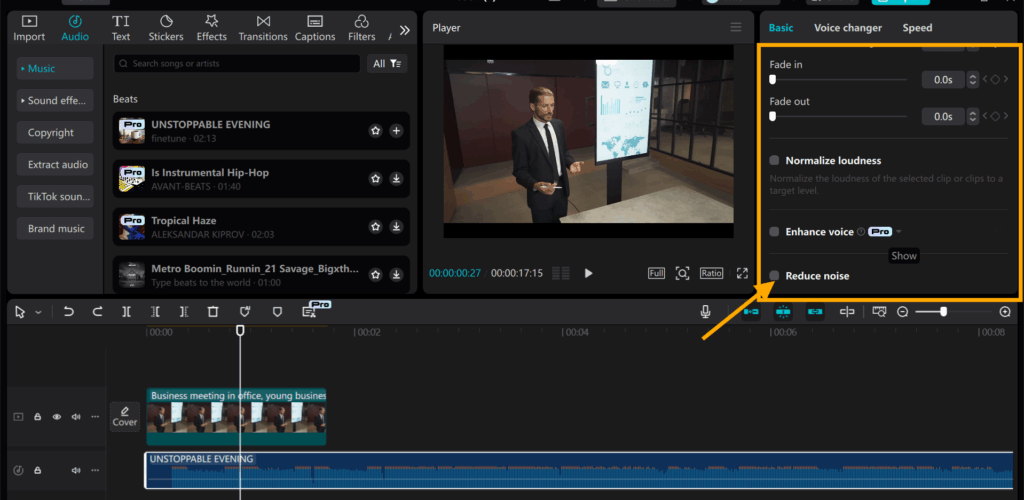
Step 4: Refine Voiceover with Tools
Click on the voice clip and proceed to the right panel. Utilise tools such as noise reduction, volume control, or fade-in and fade-out.
You can also modify the pitch or speed of your voice. Some additional tools, such as additional voice styles or filters, can require payment to access. Nevertheless, the default tools are fine for clean and clear sound.
Step 5: Export and Share
Click “Export” in the top right. Select a video resolution, format, and file name for your file. Click “Export” again to save it on your device.
Your presentation is ready. Share it on school websites, video platforms, or social media instantly with a simple click.
Conclusion
It’s easy and useful to crop voiceovers using the CapCut desktop video editor. It makes your presentations clearer, more engaging, and more understandable.
Teachers, students, and professionals can use it to enhance the way they present ideas. The editor is simple, even for novice users.
Although you can access most tools for free, some voice effects and exporting options require a paid upgrade. Nevertheless, the basic features are robust enough for most applications.
Give it a try for your next project. You might be surprised how much better your presentation sounds with a voiceover added.

Editorial Team
The Editorial Team at GoOnlineTools.com specializes in delivering cutting-edge information on technology.
View all postsComments 0
No comments yet. Start the conversation!